My wife and I love pizza (who doesn’t?) Our Westinghouse electric fan oven can just about manage 195 C on a good day. Cooking a pizza in it takes forever, and the result is, at best, “edible.”
One day, I saw a video of an Australian man building a pizza oven and thought, “How difficult can this be?” I decided to build one under the palapa. It would make a great centerpiece for parties. A barbecue grill — everyone has one of those! But the thought of pulling out gourmet pizzas was irresistible.
I researched the two types of oven: dome and half-cylinder. The dome demands serious brick skills and a lot of tedious brick-cutting with a diamond disk. They are both equally efficient, but the half-cylinder offers more room inside, so I chose that.
My oven required:
- 160 high-temperature bricks
- Cement
- Slaked lime
- Sand
- Perlite
- Fire clay (I used kaolin)
- Two meters of steel angle
- Chicken wire
The total cost of the oven, built myself, was around 3,000 pesos. I had a contractor build the support base, which also acts as storage space for the logs.
First, you build the base. It’s the same kind you’d use to make a grill. Mine is 1.25 meters square. Once the base has cured, you can draw the outline of the oven on it. Begin by drawing a center line and align all measurements to it.
I built the lowest brick course and the floor first. This involved covering the concrete base with a mix of lime and fire clay to a depth of 1.5 centimeters, leveling it and then placing the bricks edge to edge. Then you must carefully tap the bricks with a rubber mallet to bed them down and make a flat hearth. We don’t cement this.

Then build the rear wall. It’s a simple task, standard bricklaying. You don’t need to use furnace bricks, which are very expensive. We’re not looking to fire pottery at 1100 degrees Celsius. I went to the Ladrillera Mechanizada building materials store, where they had a compressed brick fired at 1100–1300 degrees — perfectly adequate and reasonably priced. Don’t use regular cement. I mixed some lime into mine to give it more fire resistance, but even better, you can buy refractory mortar.
To build the arches, build the second and third course for the walls once the rear wall is in place, which is a straightforward job. You’ll need two arch forms. A form looks like two semicircles of one-inch ply, separated by two-inch wooden spacers screwed together. It fits precisely between the walls and helps us support the brick arches, beginning with the one in contact with the rear wall.
As we finish one arch, we move the form toward the front and begin the next. This continues until we finish the long axis and place the chimney. Traditionally, a second arch is built to support the chimney, but I cheated. I simply placed two lengths of “L” angle steel across the bricks at the right height and used those to support the chimney column. It works as well as an arch and was a lot quicker.

Finally, a second arch form, smaller, is built to make the oven door. There’s a “golden ratio” to observe with these ovens to ensure that smoke and flame go up the chimney and not into your face when you open the door. My entrance (door) arch is 25 centimeters high. The chimney begins at 40 centimeters in height, and the oven is 75 centimeters high inside.
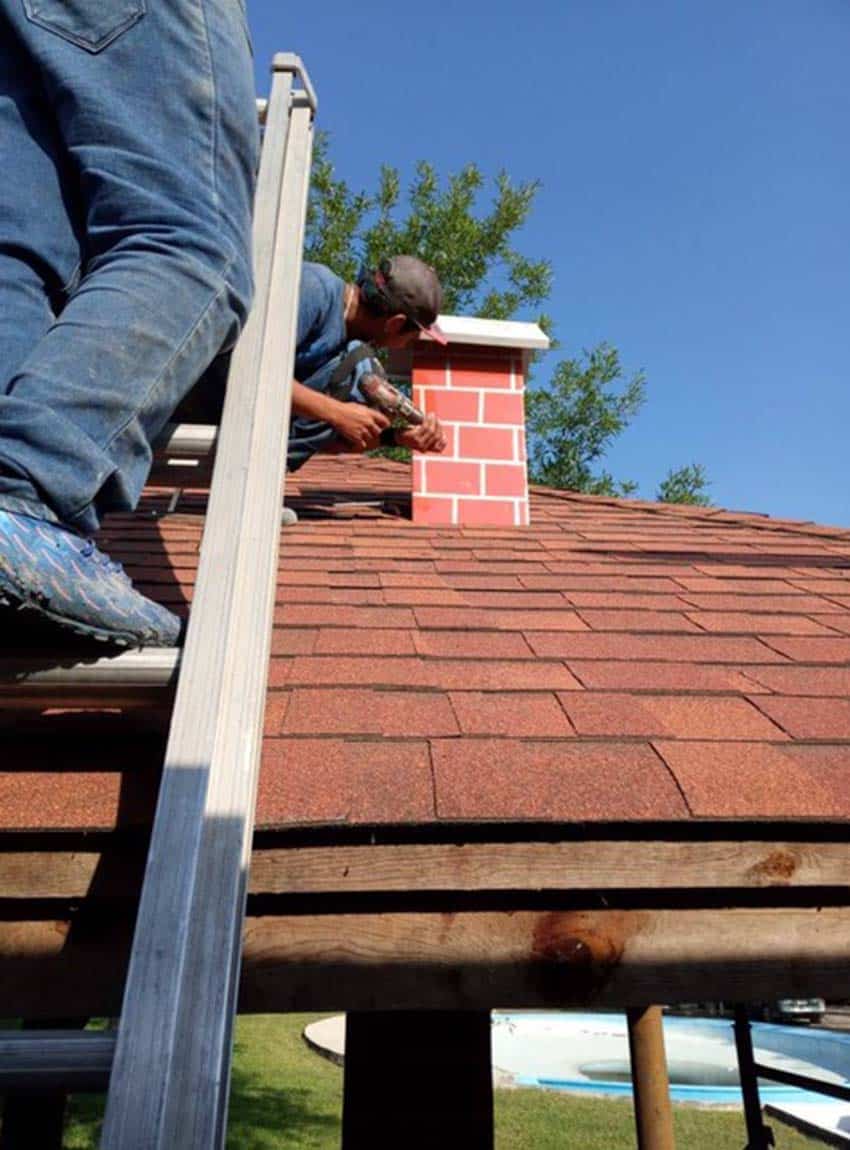
Once the basic oven is finished, it’s time to add heat sinking and insulation. I added four inches of concrete and stone “overcoat,” then six inches of “Perlite mortar” — a mix of 6:1 Perlite (for insulation) to mortar. The finished oven will take several weeks to dry out before it can be used, cautiously at first. I had a steel welder fabricate a 30-by-15-centimeter rectangular metal chimney, which has proved perfectly adequate.
One caution: be careful if you’re not used to brickwork. Do not, as I did, use your hand, claw-like, to hold bricks. I did that and got De Quervain’s tenosynovitis as a result. Also, take safety precautions when cutting bricks. Be gentle with yourself and remember it doesn’t have to be done to a deadline.
Regarding cooking the pizza: I’ve been using my oven for the last six months, and it’s been quite the learning curve. I learned that every oven, like every vehicle, has a “cruising temperature.” Mine cruises at 330 degrees Celsius.
It takes two hours to get there with a modest fire. Then it will retain that temperature for hours with an occasional extra log. If I force it with a raging fire, yes, I can get it to 400 degrees in 90 minutes, but the oven won’t easily retain that heat, and cooking will be a difficult problem given the changing temperatures. I cook pizzas in three to four minutes at 330 degrees. They taste just as good as if I push the oven to 440 degrees and cook them in one minute or so.
One key to the perfect pizza is to have the right base temperature and the right space heat. It took me a while to realize that you start the fire at the front, and push it back when you cook. That’s to get the brick under the base hot enough for the perfect crust. If not? Floppy pizza or burnt topping! If I’m meticulous, I’ll use the heat gun to measure the brick temperature.
The other key is the perfect ingredients. Avoid the flour they sell in supermarkets unless you like your pizza to taste like cake. What you want, at a minimum, is bread flour with plenty of gluten; you’ll make great pizza with that. If you want to be more “pro,” you can order semolina flour on Mercado Libre. A 60/40 mix of bread/semolina will give you a fine Italian-style pie!
To conclude, building a pizza oven is a relatively inexpensive project that can add value to your home and fun to your life.
Clive Warner is a retired British engineer and teacher who moved from the United Kingdom to Monterrey, Mexico, in 1990 with his Mexican wife, Sandra, after their computer business failed. After working in the cement and plastics industries, Clive became a teacher with the St. Patrick’s School in Monterrey. He has written four novels, a book about heart surgery, and a memoir. After selling their house in Monterrey a year ago, he and Sandra bought a “fixer-upper” quinta in Santiago and are still busy renovating it.